Remote IoT Access: Securely SSH Into Your Devices
Are you wrestling with the challenge of remotely managing your Internet of Things (IoT) devices? Leveraging Secure Shell (SSH) offers a robust, secure, and surprisingly straightforward solution, allowing you to maintain complete control over your IoT network from virtually anywhere.
The proliferation of IoT devices, from smart home appliances to industrial sensors, has created a demand for remote access and management capabilities. Whether youre a seasoned IT professional or just beginning to explore the world of IoT, the ability to securely access and control your devices remotely is crucial. It simplifies troubleshooting, enables over-the-air updates, and provides a layer of security against unauthorized access. While various methods exist for remote access, SSH stands out as a particularly effective and secure approach.
Before we dive deeper, let's outline the essential components involved in setting up SSH remote access for your IoT devices. You'll need:
- An SSH client on your access device (e.g., a Windows or macOS computer). Popular clients include PuTTY for Windows and the built-in terminal on macOS and Linux.
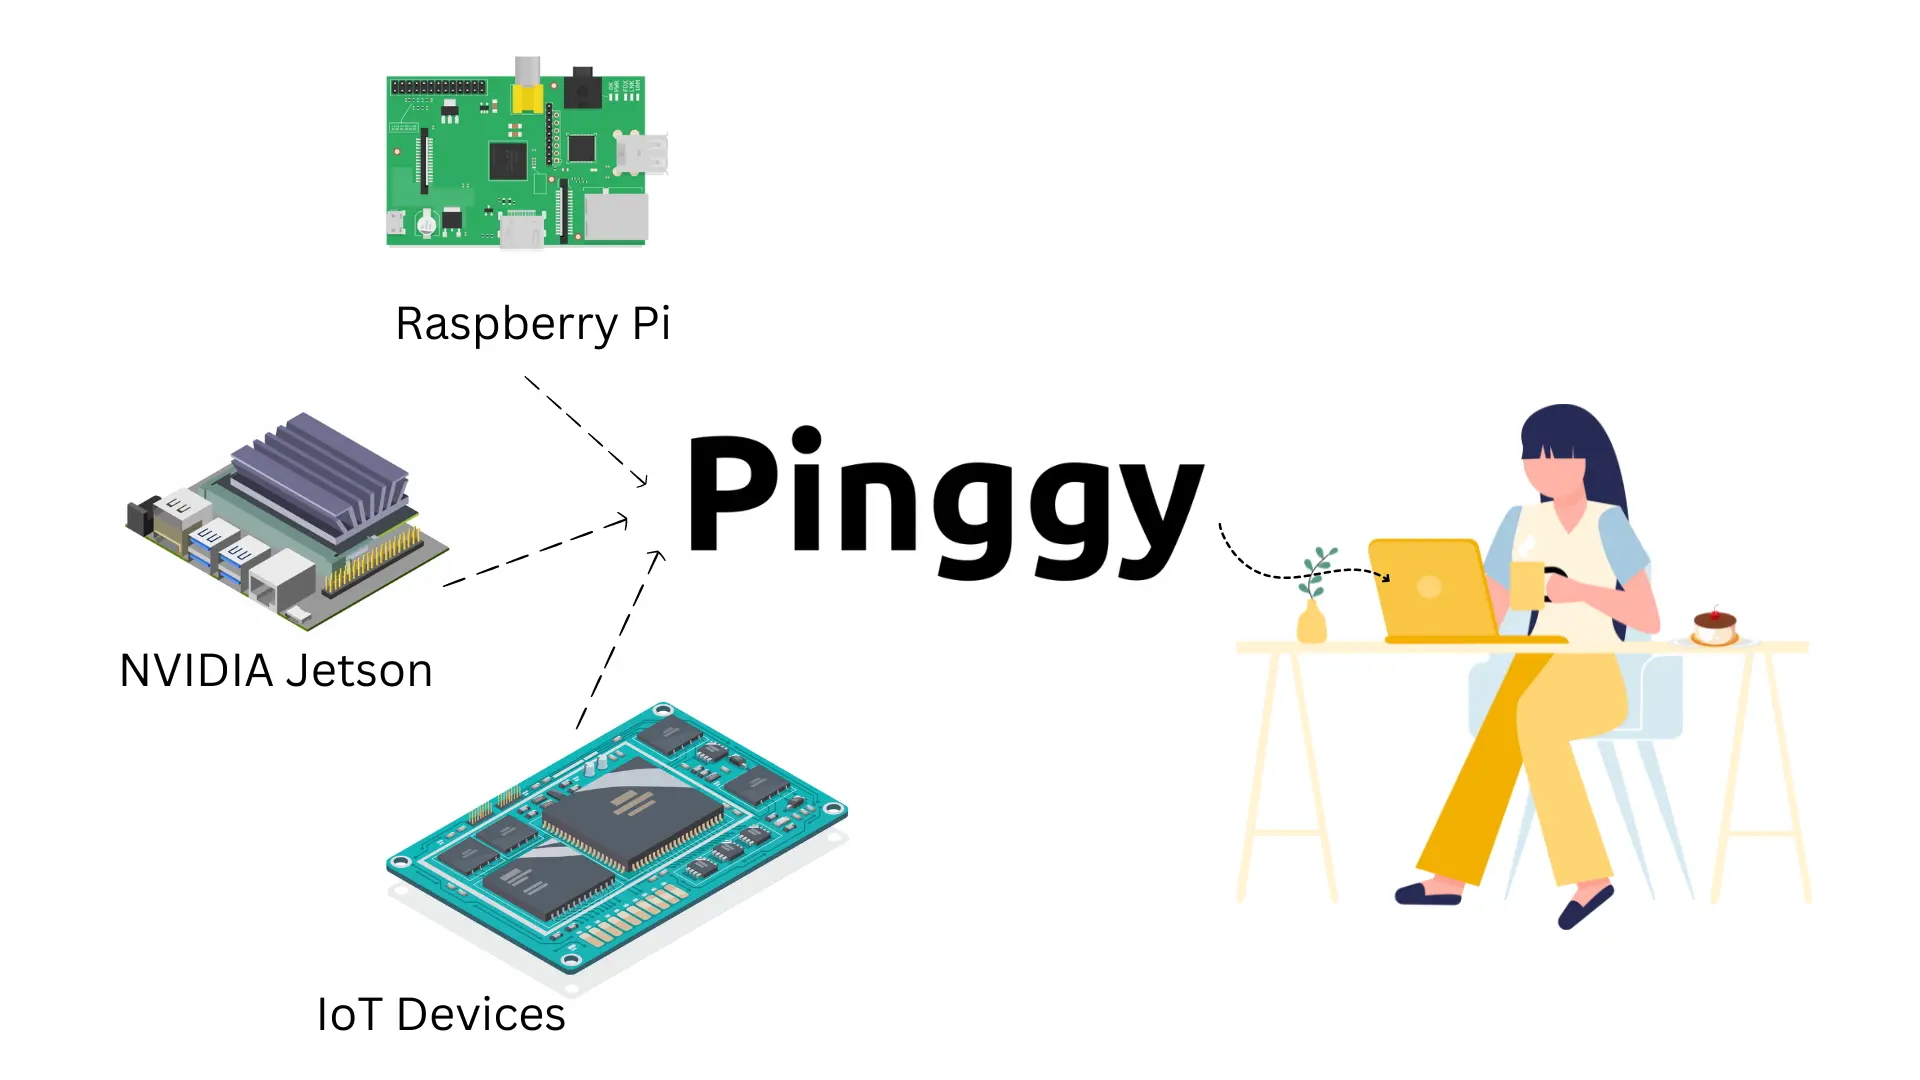
- An IoT device with SSH server enabled. This means the device must have an SSH daemon (sshd) running. Most Linux-based IoT devices, like Raspberry Pi, come with SSH pre-installed or easily installable.
- Network connectivity: Both your access device and the IoT device must be connected to the internet.
- Port forwarding (if the IoT device is behind a router): This involves configuring your router to forward incoming SSH connections to your IoT device.
- (Optional) Dynamic DNS (DDNS): If your internet service provider (ISP) assigns a dynamic IP address to your home network, using DDNS ensures you can always reach your IoT device even if the IP address changes.
Let's delve deeper into how SSH facilitates secure remote access. SSH, or Secure Shell, is a cryptographic network protocol. It provides a secure way to access and manage devices remotely over an unsecured network. At its core, SSH creates a secure tunnel that provides an encrypted path for data to transmit between the IoT device and your access point. This means all communication, including commands, data transfers, and any other interaction, is protected from eavesdropping and tampering. This level of encryption is what makes SSH so secure.
Here's a table detailing the crucial aspects of accessing IoT devices with SSH:
| Feature | Description | Benefit |
|---|---|---|
| Security | Utilizes cryptographic protocols to encrypt data transmitted between the client and the IoT device. | Ensures data confidentiality and integrity, protecting against unauthorized access and eavesdropping. |
| Remote Access | Allows users to remotely access and manage IoT devices from any location with an internet connection. | Enables easy troubleshooting, software updates, and configuration changes without physical proximity to the device. |
| Versatility | Compatible with various operating systems, including Windows, macOS, and Linux, and supports a wide range of IoT devices, such as Raspberry Pi. | Provides a flexible solution for managing diverse IoT ecosystems, no matter the underlying hardware or software. |
| Command Execution | Enables execution of commands on the IoT device, allowing for full control and configuration. | Provides the ability to install software, modify settings, monitor system performance, and resolve issues. |
| Port Forwarding | Allows redirection of traffic from a port on your access device to a port on the IoT device, enabling access even behind firewalls. | Facilitates access to specific applications and services running on the IoT device, enhancing its functionality. |
| Tunneling | Creates secure tunnels for transmitting various types of data, not just SSH traffic. | Enhances the overall security and flexibility of remote access, allowing users to securely transmit data for multiple purposes. |
To get started, you'll need to ensure your IoT device has an SSH server running. On many Linux-based devices, like the Raspberry Pi, SSH is either pre-installed or easily installable. On Debian-based systems (like Raspberry Pi OS), you can often install it using the command: sudo apt update && sudo apt install openssh-server. Once installed, the SSH service should start automatically. If not, you can usually start it with: sudo systemctl start ssh. You may also want to enable the service to start on boot with sudo systemctl enable ssh.
- Hdhub4u Free Movies Safety Concerns Alternatives 2024 Guide
- Avoid Errors Addressing No Results Bengali Entertainment Insights
Next, youll need an SSH client on your access device. If youre on macOS or Linux, a terminal with the `ssh` command is readily available. On Windows, you can use PuTTY (a free, popular SSH client) or the built-in OpenSSH client, which is now included in recent versions of Windows 10 and 11. Once you have an SSH client, youll typically connect using the device's IP address and the default SSH port (port 22). The command looks something like this: ssh user@your_iot_device_ip (replace "user" with the username on your IoT device and "your_iot_device_ip" with its IP address).
If your IoT device is behind a router, youll need to configure port forwarding. This process allows incoming traffic on a specific port of your router (typically port 22, the standard SSH port) to be redirected to the internal IP address and port of your IoT device. The exact steps for port forwarding vary depending on your router's make and model, but generally, you'll access your router's configuration page (usually through a web browser at an address like 192.168.1.1 or 192.168.0.1), find the port forwarding or virtual server section, and create a rule that forwards traffic on port 22 to the internal IP address of your IoT device (e.g., 192.168.1.100) on port 22.
Once port forwarding is configured, you should be able to connect to your IoT device from outside your local network using your public IP address. To find your public IP address, you can simply search "what is my ip" on Google or use a website like whatismyip.com. The connection command would then look like this: ssh user@your_public_ip_address. You may also need to specify the port number if you've used a different port number in your router's port forwarding configuration, like this: ssh -p 2222 user@your_public_ip_address (if you forwarded port 2222 on your router to port 22 on your IoT device).
For IoT devices like Raspberry Pi, SSH proves invaluable. The Raspberry Pi, a marvel of compact computing, often runs without a connected screen, keyboard, and mouse. SSH provides the primary means to access and control it remotely. This is especially useful for projects that require the Pi to operate independently, like home automation systems or sensor networks. You can perform software updates, adjust configurations, and monitor device health all without physical access.
It's worth mentioning the importance of secure configurations. The default SSH setup is often vulnerable. Change the default SSH port (22) to a non-standard port to reduce the likelihood of automated attacks. Disable password-based authentication and use SSH keys instead. SSH keys offer a significantly more secure way to authenticate. Generate an SSH key pair on your access device, copy the public key to your IoT device's authorized_keys file, and then disable password authentication in the SSH configuration file (sshd_config). Regularly update your IoT devices' operating systems and any software installed. Vulnerabilities in the operating system or installed applications can be exploited if left unpatched. Always keep your SSH client software up to date as well.
Furthermore, explore the option of using SSH tunneling. SSH tunneling allows you to securely forward traffic from a local port on your access device to a port on the remote IoT device. This is useful for accessing services running on the IoT device that arent directly accessible through SSH. For example, if your IoT device hosts a web server on port 80, you could use SSH tunneling to access it from your access device. The command to set up a local port forward would look something like this: ssh -L 8080:localhost:80 user@your_iot_device_ip. After running this command, you can access the web server on your IoT device by pointing your web browser on your access device to http://localhost:8080.
There are many tools to aid the remote SSH access for IoT devices, such as socketxp. It allows you to securely access and manage your server remotely, streamlining the management of IoT devices at scale, improving operational efficiency and reducing risks.
Consider the use of custom IoT edge modules that run multiple IoT devices virtually on the edge, and taking advantage of the security features of device streams. Solutions that leverage device stream features can provide a secure remote access to your IoT edge.
For those using the Raspberry Pi, SSH is a necessity for remote operation. It allows updates, new software installations, and the resolution of issues to be done from any location.
Remote debugging and diagnostics become inevitable with the rise of IoT devices running complex edge computing applications. The ability to have remote terminal access (SSH, telnet, or VNC) is a must for deployed IoT edge devices.
Several specialized solutions, such as Qbee.io, offer integrated and highly secure remote access solutions that work even behind firewalls, simplifying the management of IoT devices at scale. Torizons remote access is a good field debugging solution, allowing for the debugging and configuration of remote IoT devices as if they were within easy reach.
The benefits of using SSH extend beyond simple remote access. By creating a secure tunnel, SSH ensures that data transmitted between your access device and your IoT device remains confidential and protected. This is crucial for maintaining data privacy and protecting sensitive information that the IoT device might handle.
When choosing SSH implementations for IoT devices, carefully consider the hardware and software capabilities of the devices. Some devices might have limited processing power or memory. Therefore, choose an SSH implementation that is lightweight and optimized for resource-constrained environments. Consider using tools tailored for remote access to manage and configure your IoT devices.
Before you start, always remember to configure the IP address and DNS settings of your IoT devices, and follow the security guidelines. Use strong passwords or key-based authentication, and keep all software up-to-date to mitigate vulnerabilities.
In essence, SSH is not merely a technical solution; it is a vital component of responsible IoT management. It gives you control, ensures security, and promotes efficiency, all of which are paramount in today's interconnected world.

![How to Access IoT Devices Remotely with SSH [6 Easy Steps]](https://www.trio.so/blog/wp-content/uploads/2024/10/Access-IoT-Devices-Remotely-Using-SSH.webp)
Detail Author:
- Name : Stevie Haag Jr.
- Username : bmurray
- Email : meta48@stracke.com
- Birthdate : 1994-07-13
- Address : 975 Fay Port Constanceland, NJ 45279-5726
- Phone : 351-531-5759
- Company : Bogisich and Sons
- Job : Tractor Operator
- Bio : Doloribus dolor repellendus ut magnam deserunt tempore non. Vel sed non ea dolores dolor quia deserunt. Veniam optio ducimus nihil officia itaque voluptatum.
Socials
facebook:
- url : https://facebook.com/graynor
- username : graynor
- bio : Ipsam eveniet ducimus architecto nulla incidunt. Animi ut at laborum enim.
- followers : 4197
- following : 1075
tiktok:
- url : https://tiktok.com/@raynor2005
- username : raynor2005
- bio : Dolores voluptatem quia autem esse. Sunt ut asperiores perferendis.
- followers : 6319
- following : 776

 devices? Leveraging Secure Shell (SSH) offers a robust, secure, and surp)