SSH IoT Anywhere On Windows 10: Your FREE Guide
Are you tired of being tethered to your local network, unable to access and manage your Internet of Things (IoT) devices when you're away from home or the office? The ability to use Secure Shell (SSH) to remotely control your IoT devices from anywhere in the world, on a Windows 10 system, is not just a futuristic fantasy; it's a practical reality, and it doesn't have to cost you a single cent.
The evolution of technology, specifically the rise of the Internet of Things (IoT), has dramatically reshaped how we interact with our surroundings. From smart home appliances and security systems to industrial sensors and embedded systems, IoT devices are rapidly becoming integral to both our personal and professional lives. However, the convenience these devices offer is often accompanied by the challenge of remote management. How do you ensure these devices function correctly, receive necessary updates, and remain secure without being physically present? SSH provides a robust, cost-effective solution.
This article is designed to be your comprehensive guide, walking you through the intricacies of establishing a secure SSH connection to your IoT devices, all while ensuring your access from virtually any location, and all using the familiar environment of a Windows 10 machine. The following sections will equip you with the necessary knowledge and step-by-step instructions to set up SSH, configure your devices and network, and maintain a secure connection. Whether you are a seasoned developer, a network administrator, or simply a tech enthusiast, this guide will empower you to confidently manage your IoT ecosystem remotely. The goal is simple: to provide a clear, concise, and actionable pathway to mastering SSH for IoT devices.
- Hdhub4u Your Ultimate Guide To Free Movies Tv Shows Watch Now
- Kannada Movies 2023 Releases Where To Watch Top Picks
Before we delve into the technical details, its worth acknowledging the profound impact IoT has had on modern life. The ability to monitor, control, and automate devices remotely is no longer a luxury but a necessity. Understanding how to securely access and manage these devices is, therefore, a crucial skill for anyone working in the tech industry or seeking to enhance their digital lifestyle. SSH, offering a secure and efficient method for remote access, becomes an indispensable tool.
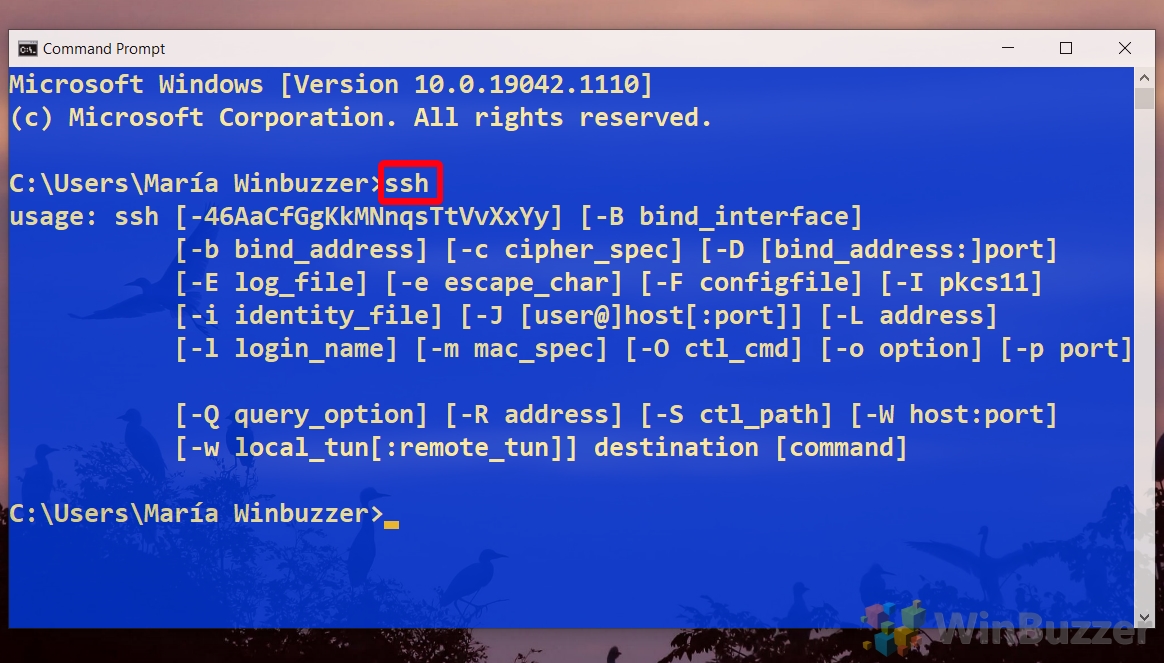
Lets begin with the fundamental question: What exactly is SSH, and why is it so critical for managing IoT devices remotely? SSH, or Secure Shell, is a cryptographic network protocol operating over a secure channel. It is widely used for secure remote login, command-line execution, and other secure network services. In the context of IoT, SSH allows you to establish a secure, encrypted connection to your devices, enabling you to send commands, transfer files, and manage configurations remotely. Unlike less secure protocols, SSH encrypts all data transmitted between the client and the server, protecting against eavesdropping and unauthorized access. This is especially crucial in IoT, where devices often handle sensitive data and are vulnerable to various security threats.
The appeal of using SSH to manage IoT devices extends to a wide array of applications. Consider a scenario where you have deployed sensors in a remote location to monitor environmental conditions. By using SSH, you can remotely access these sensors to collect data, update firmware, and troubleshoot issues without physically visiting the site. Similarly, in a smart home environment, SSH can allow you to control various appliances, monitor security systems, and make adjustments from anywhere in the world, enhancing the flexibility and convenience of your connected devices. For developers and network administrators, SSH is an essential tool for managing servers, deploying software, and diagnosing network problems.
- Julianna Margulies News Roles Where To Watch Your Guide
- Aaron Pierre Wife Dating Life Everything You Need To Know
Now, let's address the core question: How can you use SSH to access your IoT devices from anywhere on your Windows 10 machine, without incurring any costs? The process is straightforward, involving several key steps. You'll need to set up an SSH client on your Windows 10 system, ensure that SSH is enabled on your IoT device, configure port forwarding on your router, and secure your connection with strong authentication methods. This setup, once complete, provides you with a secure and flexible way to control your devices from any location with an internet connection. The benefits of adopting this method are numerous, including enhanced security, improved device control, and unparalleled flexibility in remote management.
This comprehensive guide will explore the necessary tools, techniques, and configurations needed for remote IoT device management. It will cover everything from installing and configuring an SSH client to setting up port forwarding, all while adhering to the best practices for security and efficiency. Lets start by addressing the tools youll need to get started. First and foremost, you will need an SSH client. A popular choice for Windows systems is PuTTY, a free and open-source terminal emulator that supports SSH. You can download it from the official PuTTY website. Once installed, PuTTY allows you to establish a secure connection to your IoT devices. You will also require the IP address of your IoT device and the login credentials. These credentials will typically include a username and password. Be certain to use strong, unique passwords to enhance your security.
The following is a table showcasing the steps required to configure SSH on your Windows 10 machine, the IoT device, and your router.
| Component | Action | Details |
|---|---|---|
| Windows 10 Machine | Install an SSH Client | Download and install PuTTY or another SSH client from a reputable source. |
| Windows 10 Machine | Configure SSH Client | Enter the IP address of your IoT device, the port number (typically 22), and the connection type (SSH). |
| IoT Device | Enable SSH | Ensure SSH server is running or enabled. This might involve installing and enabling an SSH server on your IoT devices operating system. |
| IoT Device | Determine IP Address | Find the device's local IP address, which is needed to establish a connection from your Windows PC. |
| Router | Configure Port Forwarding | Forward port 22 (or the port you're using) on your router to the local IP address of your IoT device. |
| Router | Configure Static IP (Optional) | Assign a static IP address to your IoT device within your router's settings to prevent the IP from changing. |
| Connection | Establish Connection | Open your SSH client, enter the device's public IP address, and connect. |
| Security | Authentication | Use a strong password or an SSH key for authentication to enhance security. |
To successfully use SSH to manage your IoT devices, it is essential that SSH is enabled on the IoT device itself. The method for enabling SSH will vary depending on the operating system running on your IoT device. For example, if you are using a Raspberry Pi running Raspberry Pi OS, SSH is typically enabled by default, but you might need to enable it via the raspi-config tool or by creating an empty file named "ssh" in the boot partition of the SD card. On other devices, you may need to install an SSH server such as OpenSSH. The exact instructions will depend on the specific device and its operating system.
Before proceeding, ensure you know the IP address of your IoT device. This is usually assigned by your router and can be found in your router's administration interface or on the device itself. Its recommended that you assign a static IP address to your IoT device. This prevents the IP address from changing, which could disrupt your remote access. Assigning a static IP can usually be done through your router's administration panel. Look for options like "DHCP reservations" or "static IP address assignment."
Once you have the IP address of your IoT device and SSH enabled, the next step is configuring port forwarding on your router. This is a critical step, as it allows incoming SSH connections from the internet to be directed to your IoT device. The process of configuring port forwarding varies slightly depending on the make and model of your router, but the general steps remain consistent. You will need to access your router's administration panel, which is usually done by entering the router's IP address in a web browser. Common router IP addresses include 192.168.1.1 or 192.168.0.1. Log in using the router's username and password, which are often found on a sticker on the router itself or in the router's documentation. Within the router's settings, look for a section labeled "Port Forwarding," "Virtual Servers," or similar. Youll then create a new rule, specifying the following:
- The service name (e.g., "SSH").
- The protocol (TCP).
- The external port (usually 22, but you can choose a different port for added security).
- The internal port (typically 22).
- The internal IP address, which is the IP address of your IoT device.
Save the configuration for future use. Once these steps are completed, your router will forward any incoming SSH connections on the specified port to your IoT device, enabling you to access it from anywhere in the world.
With your router configured for port forwarding, it is time to establish a connection to your IoT device using an SSH client on your Windows 10 machine. If you are using PuTTY, open the application and enter the following information:
- In the "Host Name (or IP address)" field, enter the public IP address of your home network. You can find your public IP address by searching "what is my IP" on a search engine or visiting a website that displays your IP address.
- In the "Port" field, enter the port number you specified in your router's port forwarding settings (usually 22).
- Select "SSH" as the connection type.
- Click "Open" to establish the connection.
You will then be prompted to enter the username and password for your IoT device. Once you have entered the correct credentials, you will be logged into your devices command-line interface, allowing you to execute commands, manage files, and perform other administrative tasks remotely.
Enhancing security is paramount when setting up remote access to your IoT devices. You should take several measures to protect your devices from unauthorized access. First, always use a strong, unique password for your IoT device and, if possible, enable two-factor authentication. Consider using SSH keys instead of passwords for authentication, which adds an extra layer of security. SSH keys involve generating a pair of keys: a public key that you place on your IoT device, and a private key that you keep secure on your Windows 10 machine. When you connect via SSH, your client uses the private key to authenticate, without the need to transmit a password over the network. This method makes it significantly harder for attackers to gain access.
Another security best practice is to change the default SSH port (port 22) to a less common port. This is often referred to as "security through obscurity." While it doesn't guarantee security, it can help reduce the number of automated attacks that target the default port. However, note that youll need to adjust your port forwarding settings on your router to reflect the new port number. Regular updates are also crucial for securing your devices. Keep the operating system and all software on your IoT devices up to date with the latest security patches.
For even greater security, especially if you are managing sensitive data or critical infrastructure, consider using a VPN (Virtual Private Network). A VPN creates an encrypted tunnel between your Windows 10 machine and your home network. This ensures that all traffic, including the SSH connection, is encrypted and protected from eavesdropping. To use a VPN, you will need to set up a VPN server on your home network or use a commercial VPN service. Once connected to the VPN, you can then connect to your IoT devices via SSH as if you were on your local network. This adds an extra layer of security, as your traffic is encrypted from your device to the VPN server and then to your IoT device.
In addition to the above methods, it's prudent to periodically review your router's logs for any suspicious activity. Many routers log connection attempts and other network events. By regularly checking these logs, you can identify and respond to potential security breaches or unauthorized access attempts. Furthermore, consider implementing a firewall on your IoT devices if supported by the operating system. A firewall can further restrict access and filter network traffic, adding another layer of defense against potential threats.
With all of these steps in place, you can begin to enjoy the benefits of remote access to your IoT devices. Managing your IoT devices from a distance becomes a breeze. The ability to remotely configure and manage your devices can significantly enhance your workflow, providing greater flexibility and efficiency. You are no longer constrained by your physical location; you can control your devices from virtually anywhere in the world, provided you have an internet connection. Whether you are a developer, network administrator, or tech enthusiast, understanding how to set up and use SSH for IoT devices from anywhere for free can dramatically enhance your productivity and empower you to manage your digital world more effectively.
The advantages of employing SSH for remote IoT access extend far beyond mere convenience. Consider the scenario where you need to troubleshoot an issue on an IoT device located in a remote environment. Without SSH, you would need to physically visit the device, which can be time-consuming and costly. SSH allows you to diagnose and resolve problems remotely, saving you time and resources. Furthermore, SSH offers the added benefit of enhanced security. By encrypting all data transmitted between your device and the IoT device, SSH helps protect against eavesdropping and unauthorized access, providing peace of mind knowing that your data is secure. As IoT continues to grow in popularity, so does the need for reliable remote management solutions. SSH provides a robust and secure solution, helping to maintain your devices, monitor their performance, and ensure their continued operation.
In summary, using SSH to access and control your IoT devices from anywhere on a Windows 10 system is a straightforward process that requires no financial investment. By following the steps outlined in this article, you can set up a secure and efficient remote management solution. Whether you're a beginner or an advanced user, this guide will walk you through every step of the process, ensuring you can confidently set up and use SSH on your IoT devices. By understanding these techniques and tools, you can greatly expand your ability to manage your devices and control your digital environment.


Detail Author:
- Name : Isaac Pfeffer
- Username : wkreiger
- Email : brook26@hotmail.com
- Birthdate : 1989-09-21
- Address : 736 Kutch Rest Apt. 313 Port Jacintoburgh, WI 52643-4160
- Phone : (240) 490-4702
- Company : Lubowitz LLC
- Job : Manufacturing Sales Representative
- Bio : Eius accusamus quas nihil molestiae qui similique. Nostrum dolores earum facere autem qui quas facere voluptatum. Vel accusamus nisi non iste in maxime. Rem quaerat voluptatem sunt quidem ipsa aut.
Socials
tiktok:
- url : https://tiktok.com/@nicholas.torphy
- username : nicholas.torphy
- bio : Impedit quaerat similique in.
- followers : 5121
- following : 630
twitter:
- url : https://twitter.com/nicholas.torphy
- username : nicholas.torphy
- bio : Dolor rerum minus quo fuga necessitatibus. Facere aspernatur vero est vel. Aut omnis et voluptas magni repudiandae hic deserunt non.
- followers : 5864
- following : 2416
linkedin:
- url : https://linkedin.com/in/nicholas.torphy
- username : nicholas.torphy
- bio : Impedit qui nobis adipisci quisquam.
- followers : 3101
- following : 2735
facebook:
- url : https://facebook.com/ntorphy
- username : ntorphy
- bio : Illo voluptas et debitis sed ad voluptatem quidem.
- followers : 1119
- following : 65

 devices when you're away from home or the offic)